My little honeybees! I can’t wait to share with you all the things that I make.
Today my teacher asked me for contact information to send a book that I made to a gallery, and I thought, ” I need business cards.” SO, I gathered some of my beautiful florals from my copious collection of paper and got to work.
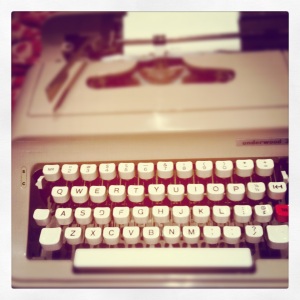
Before I began I thought about how I would add text, and decided to use my typewriter. I’m really glad I made that decision, because by the end of typing my business cards, I wasn’t make any mistakes. I also learned that a lowercase L is used for the number 1! Anyway here’s how I made them.
Supplies:
floral/ colorful paper
plain paper (white or cream)
scissors
straight edge
x-acto knife & cutting mat or paper slicer
glue stick
typewriter ( or computer)
pencil
* for those of you using a computer, obviously ignore the typewriter nonsense
Step 1- measure you paper and figure out what size you want your cards to be and what information you would like to include. mark out your paper with you pencil
Step 2- if you want, test out your typewriter(if you have one) insert your paper and begin your journey.
Step 2A- for the computer, open up Word, or a similar program, set you document to have columns ( as many as you can fit your cards in, and copy and paste your information. print
Step 3- cut out your cards.
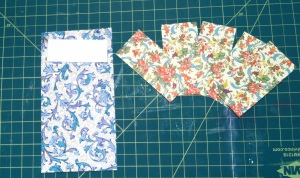
Step 4- cut a strip of your chosen decorative paper about 1/2in wider than your card. then cut the strip 1/2in longer than your card. take 2 pieces, glue them together, then glue your business card on top.
and you get these!
the end.
<3 G


